Workspace · Setup in 10 min· Setup Pass
Set up Kive for brand-aligned visuals in 10 minutes
Generate consistent, on-brand lifestyle images for your health practice from a single reference photo.
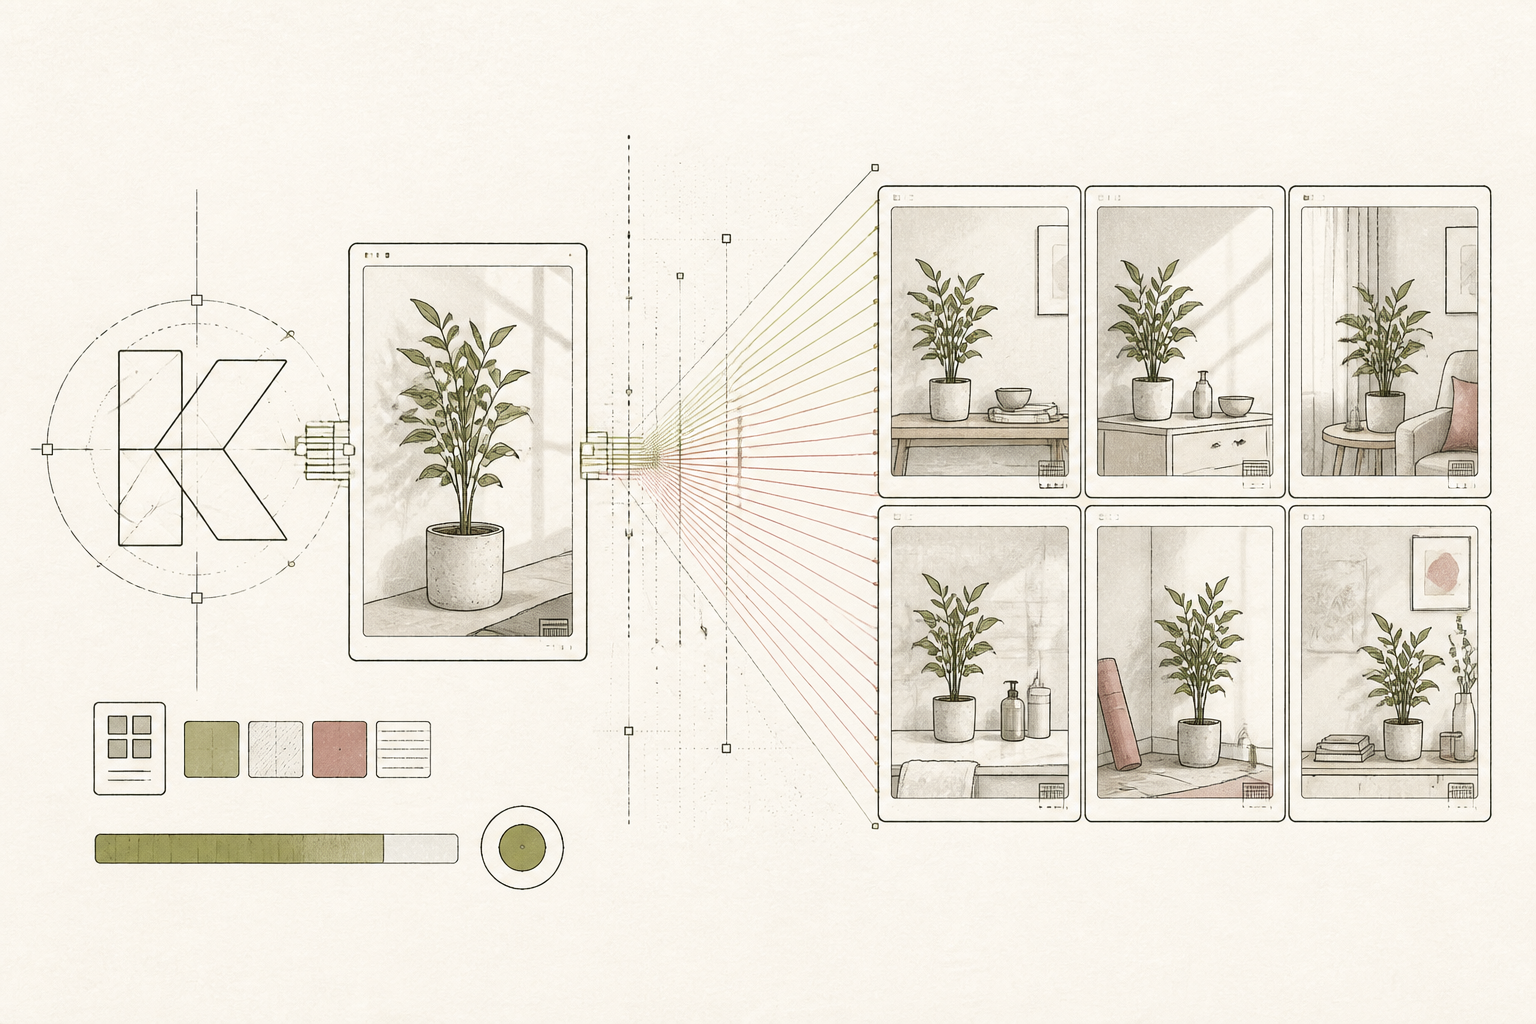
Content for a health practice or publication requires consistent, high-quality visuals that reflect a specific brand look. Stock photography often feels generic, and hiring a photographer is not always feasible. This setup configures Kive to generate a library of brand-aligned images from a few of your own reference shots.
Before you start
- A Kive account
- 1-3 existing brand images (e.g., product shots, clinic photos)
- A clear idea of your brand's visual style
The steps
- 01
Create your library
Start by creating a new library and give it your project or brand's name. Upload 1-3 high-quality images that represent your visual style. This could be a clean shot of a supplement bottle, a photo of your practice space, or a previous image that captures your brand's light and color.
- 02
Train the AI on your style
Select the images you uploaded and choose the 'Train new AI model' option. Give your model a descriptive name, like '[Your Brand] Style'. Kive will analyze the light, color, and composition of your images to create a model that understands your aesthetic.
- 03
Generate your first image set
Once the model is trained, navigate to the 'Generate' tab and select it. Write a simple, descriptive prompt for an image you need, such as 'A minimal flat lay of a supplement bottle on a marble countertop, with a green plant'. This instructs the AI to create visuals that adhere to the style it just learned.
- 04
Build a Ledger of visual assets
Generate 5-10 images for a specific context, like a blog post on sleep hygiene or a client protocol document. Save the best results back to your Kive library. You are building a 'Ledger' in the 3-Layer Method — a canonical, reusable set of on-brand assets for future use.
- 05
Refine with negative prompts
If the generated images include elements you want to avoid, use the negative prompt field. For example, if you're getting cheesy stock-photo faces, add 'faces, people' to the negative prompt to guide the output toward object-focused still life. This sharpens the model's accuracy for your specific needs.
Honest note
Kive excels at creating stylized product and lifestyle shots that match a trained aesthetic, but it is not a tool for generating informational graphics or charts. For data visualization or anatomical diagrams, a different tool is required. The AI can also struggle with rendering text accurately, so avoid prompts that require legible labels.
Want the whole stack, not just one tool?
The free 10-Day Challenge wires these together. Or join the free 45-min live workshop and watch me build it end-to-end.